PowerShell is a great way to manage your Office 365 environment. It allows you to automate a lot of tasks by writing your own scripts or change settings with a single command. Now the first step, of course, is to Connect PowerShell to Office 365.

There are two ways to connect to Office 365 in PowerShell. Microsoft Azure Active Directory Module for Windows Powershell(MSOnline) and the newer Azure Active Directory PowerShell for Graph (AzureAD).
You will need both at the moment of writing, AzureAD is the successor of MSOnline, but not all functionalities are available in the newer AzureAD module.
Installing the PowerShell Modules
First, we are going to install both PowerShell modules. You can use them both together on your system without any problems.
Step 1 – Install AzureAD module in PowerShell
Open PowerShell in admin mode (Windows key + X and select Windows PowerShell (Admin))
Type the following command:
Step 2 – Install Microsoft Online Services Sign-In Assistant
The MSOnline module requires a little more work. First, download and install the Microsoft Online Services Sign-In Assistant.
Next, we are going to install the module in PowerShell. Run the following command in PowerShell:
Connecting PowerShell to Office 365
We now have both modules installed, so we can now connect PowerShell to Office 365. Most documentation is still written for the MSOnline module so let’s start there.
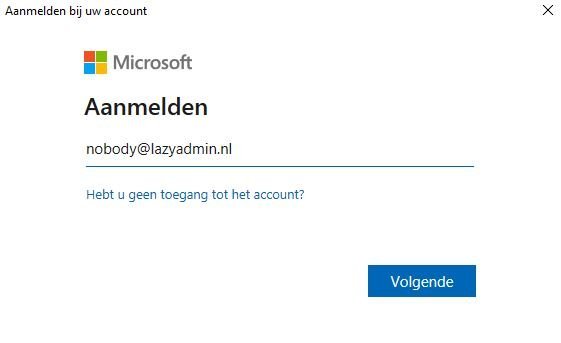
To connect to the MSOnline service you need to run the command Connect-MSolService, this will prompt you with a standard Microsoft Sign-box for your Office 365 credentials.

You can now use the MSol cmdlets in PowerShell, you can find an overview of the cmdlets here in the Microsoft Docs
Connecting with AzureAD
Connecting the new AzureAD is pretty much the same, just run the command Connect-AzureAD. You will be prompted to log in with your Microsoft account, just like with MSol. An overview of the cmdlets from the AzureAD module can be found here.
Powershell Connect to Exchange Online
I have written an updated article about connecting the Exchange Online using the new Exchange Online V2 module. Make sure you read that article first!
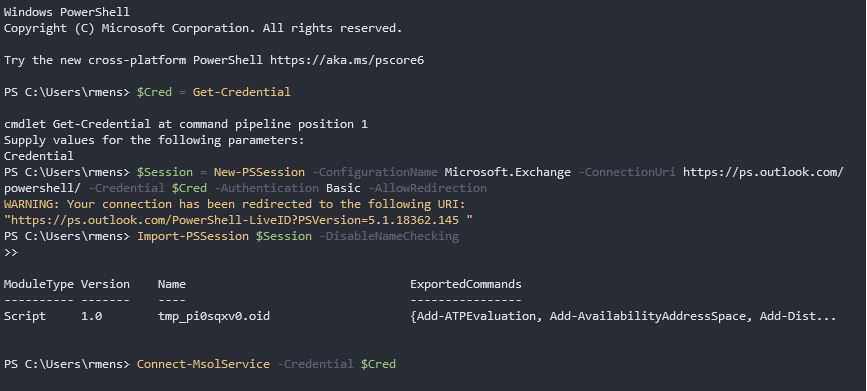
Connecting to Exchange Online is a little bit different, you don’t need to install a module for this. But we are going to make a connection to Exchange Online with implicit remoting.
With the code below we are creating a credential object, build the session, and import it into our PowerShell session:
If you are using MFA (Multi-Factor Authentication) then you can’t use the Get-Credential method.
Now you have to option to solve this, use an App Password or use the Exchange Online Remote PowerShell Module.
I prefer to use an app password, this way you can quickly set up a connection to all Office 365 services with PowerShell.
Using an App Password
MFA is a great security addition but can be a pain when it comes to automating things with PowerShell. The solve this problem you can create an App Password in Office 365. This is a strong password that you can use for an app that doesn’t support MFA.
- Login on Office 365 and goto https://portal.office.com/account/#security.
- Select Additional Security Verification
- Select Create and manage app passwords (last line)
- Create a new App Password for PowerShell
Now if you want to connect of Office 365 with PowerShell you can do the following:
As you can see you only have to login once. We can use the same credential object for every connection.
If also created a couple of PowerShell scripts that you can use to easily connect to all Office 365 services. You will find them in my TechNet Gallery. They have the ability to store the App Password in a secure string on your computer, so you can fully automate your scripts.
Conclusion
Connecting to Office 365 with PowerShell is really simple. If you are using MFA then the App Password is the most convenient way to go.
When you are done with Exchange Online, always make sure you close the session with Remove-PSSession $Session.
